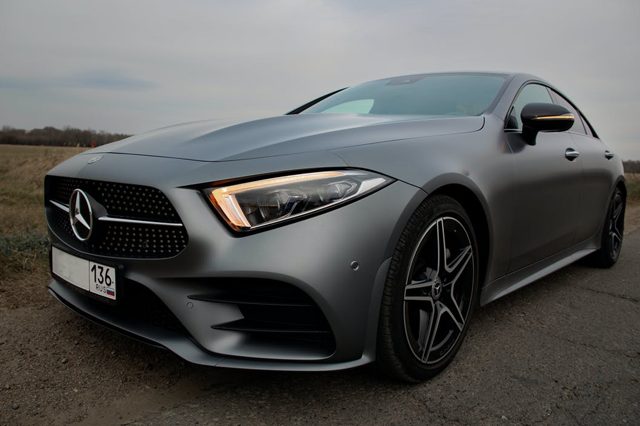
One of the most common questions among vehicle owners is knowing how to repair car scratches, with the bumper being one of the parts of the car that often suffers the most damage. Due to collisions with other vehicles or elements that we find where we park or when driving, they cause damage to the front or rear of the vehicle, which requires knowing how to repair and paint a bumper to be able to leave it in perfect condition without the need for visit a workshop

The operation of knowing how to paint a car in general and a bumper in particular, is quite common in body and paint shops. In the case of the latter, it is very common since they are an area that receives the impact when different collisions occur; and for this reason, it often needs to be repaired or replaced. The most common damages they suffer are scratches and lack of material, although they can also have cracks and deformations.
Instructions to repair and paint a bumper
If you want to know how to repair and paint a bumper, we are going to explain the steps you must follow to carry out these two operations, so that you can achieve the best results by making this important part of the vehicle shine again in the best possible way. appropriate.
How to repair a bumper?
Before thinking about painting it, you should know how to repair a bumper, for which you will have to first clean the part with soap and water. Once you have done this cleaning, it will be time to dry the bumper with pressurized air and then degrease it using a specific product for it. In this way you can remove any remaining dirt that may hinder the subsequent painting process.
Once the above is done, it will be time to carry out a damage analysis. In this way you will be able to detect the different flaws that the part has. Each of the damage found should be indicated with a marker. This is very important to prevent us from escaping from proceeding to repair any of its affected areas.
Then you will have to remove chips and loose materials, for which we will use a scraper. Once this is done, it will be time to move on to repairing the damage. For this we can resort to different techniques such as the use of putties and adhesives, as well as various methods to return the piece to its original state in the event that it presents bumps and dents.
Also, it will be time to consider getting primers applied. These increase the adhesion of the products applied to the bumper.
When the putty or adhesive used to repair the bumper has dried, sand the bumper. In this way, it is sought that the surface is perfectly even and ready before proceeding to its painting. Depending on the damage, we will use one type of sandpaper or another, being necessary to apply an appropriate sanding technique. Once the surface is equalized, it will be time to proceed with its painting.
how to paint a bumper?
Before choosing paint colors for cars so that you can choose the right one so that the color and shine is original, it is necessary to prepare all the areas of the bumper that show damage. The filler is the background paint that is sealed to the surface and serves as a base to subsequently apply the so-called finishing paints on it, which are the ones that we see with the naked eye.
To know how to paint a bumper with this rigging technique you will have to follow these steps:
- First of all, you will have to mask any element of the piece to be painted that can be sprayed.
- You will also have to cover possible defects with the appropriate putty; and cover the areas without plastic with a layer of primer.
- Then you will have to apply the filler. When doing so, keep in mind that it is very important that you have made the mixture according to the instructions indicated by the manufacturer.
- Once the filler is dry, it will be time to proceed to sanding, choosing a 400 grit for single coat finishes and up to 500 for two or more coat finishes. Regarding the rest of the piece, it must be nuanced to make the paint adhere perfectly.
- When the surface has already been sanded, the bumper is blown with pressurized air, washed and degreased. This way you will be ready for the last step.
- Once the above is done, it will be time to go to the paint booth or space enabled for painting, where the bumper will be painted with the finishing paints that will give it the final finish. In this way you will once again enjoy its original finish, free of imperfections and as if it were completely new.


